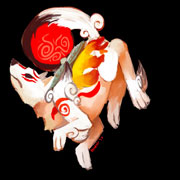
#064 Kadabra used Recover and Shadow Ball!

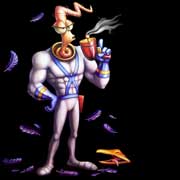
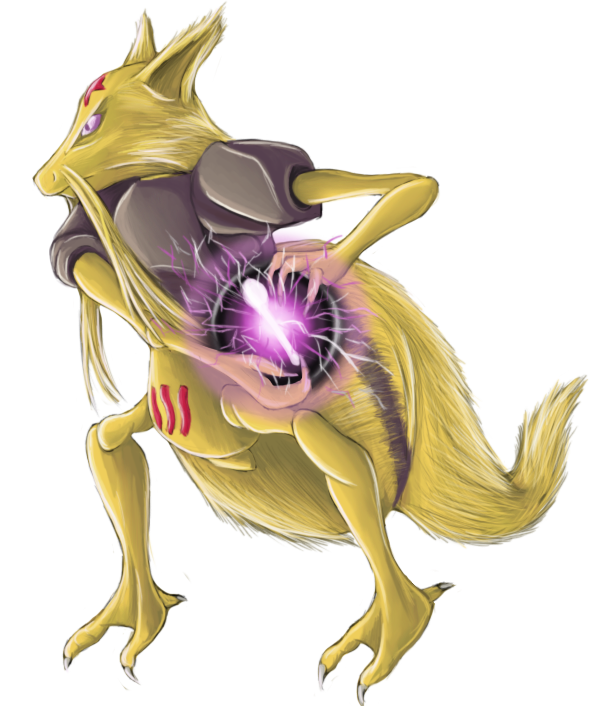
Kadabra used Recover by ShadeofShinon
ShadeOfShinon joined Game-Art-HQ back in early 2013 when I asked her if I can feature her take on Noivern from Pokemon X/Y on the site, but Kadabra and Rapidash for our Pokemon Gen I Tribute were her first submissions for one of our art collaborations.
She has a ton of amazing stuff in her whole gallery which you can find here!
~
“Half of the user’s maximum HP is restored. Few Pokémon learn this move on their own”
Recover is available since the first Pokemon games and a strong Cure-like move that regenerates up to 50% of the users HP when used. Kadabra is actually the first Pokemon in the Pokedex that can learn this move.
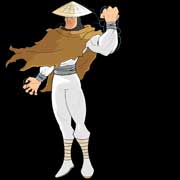
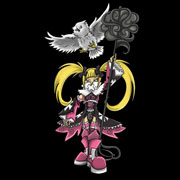
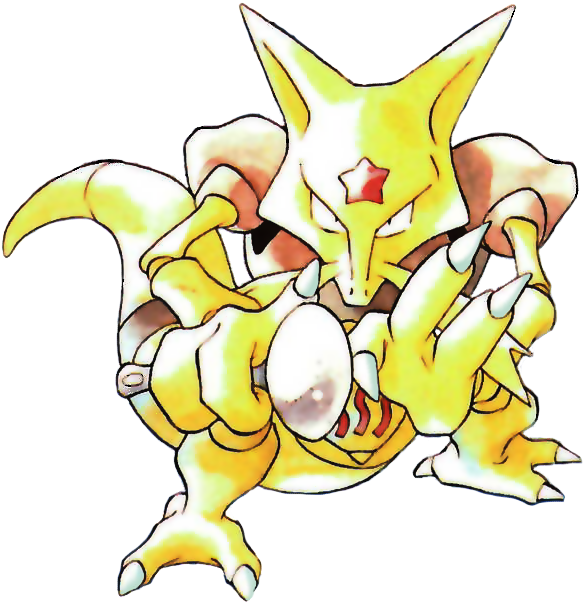
Kadabra used Shadow Ball by Kenisu-of-Dragons
Kenisu-of-Dragons from the United States came across our Pokemon Tribute in July 2016 and liked the idea to draw a Pokemon performing one of its moves. In the end he drew not only Kadabra and Rhydon but also picked Mewtwo’s 2nd spot quickly! You can see his whole gallery here.
~
“The user hurls a shadowy blob at the target. This may also lower the target’s Sp. Def stat”
The Shadow Ball attack was introduced in the Generation II Pokemon games and is a Ghost-Type move that deals not only damage but also has a 20% chance of lowering the opponents Special Defense stats by one stage. Pokemon with the Bulletproof ability are unaffected though.
“When it uses psychic power, all its brain cells work in unison to generate powerful alpha waves”
Kadabra is like a buffed up version of Abra and can use all those Psychic-type moves without sleeping for 18 hours a day. Its Psychic Power is even strong enough to cause malfunctions in machines or to cause some serious headaches. They are always wearing a silver spoon which amplifies its telekinetic power.
![]()